
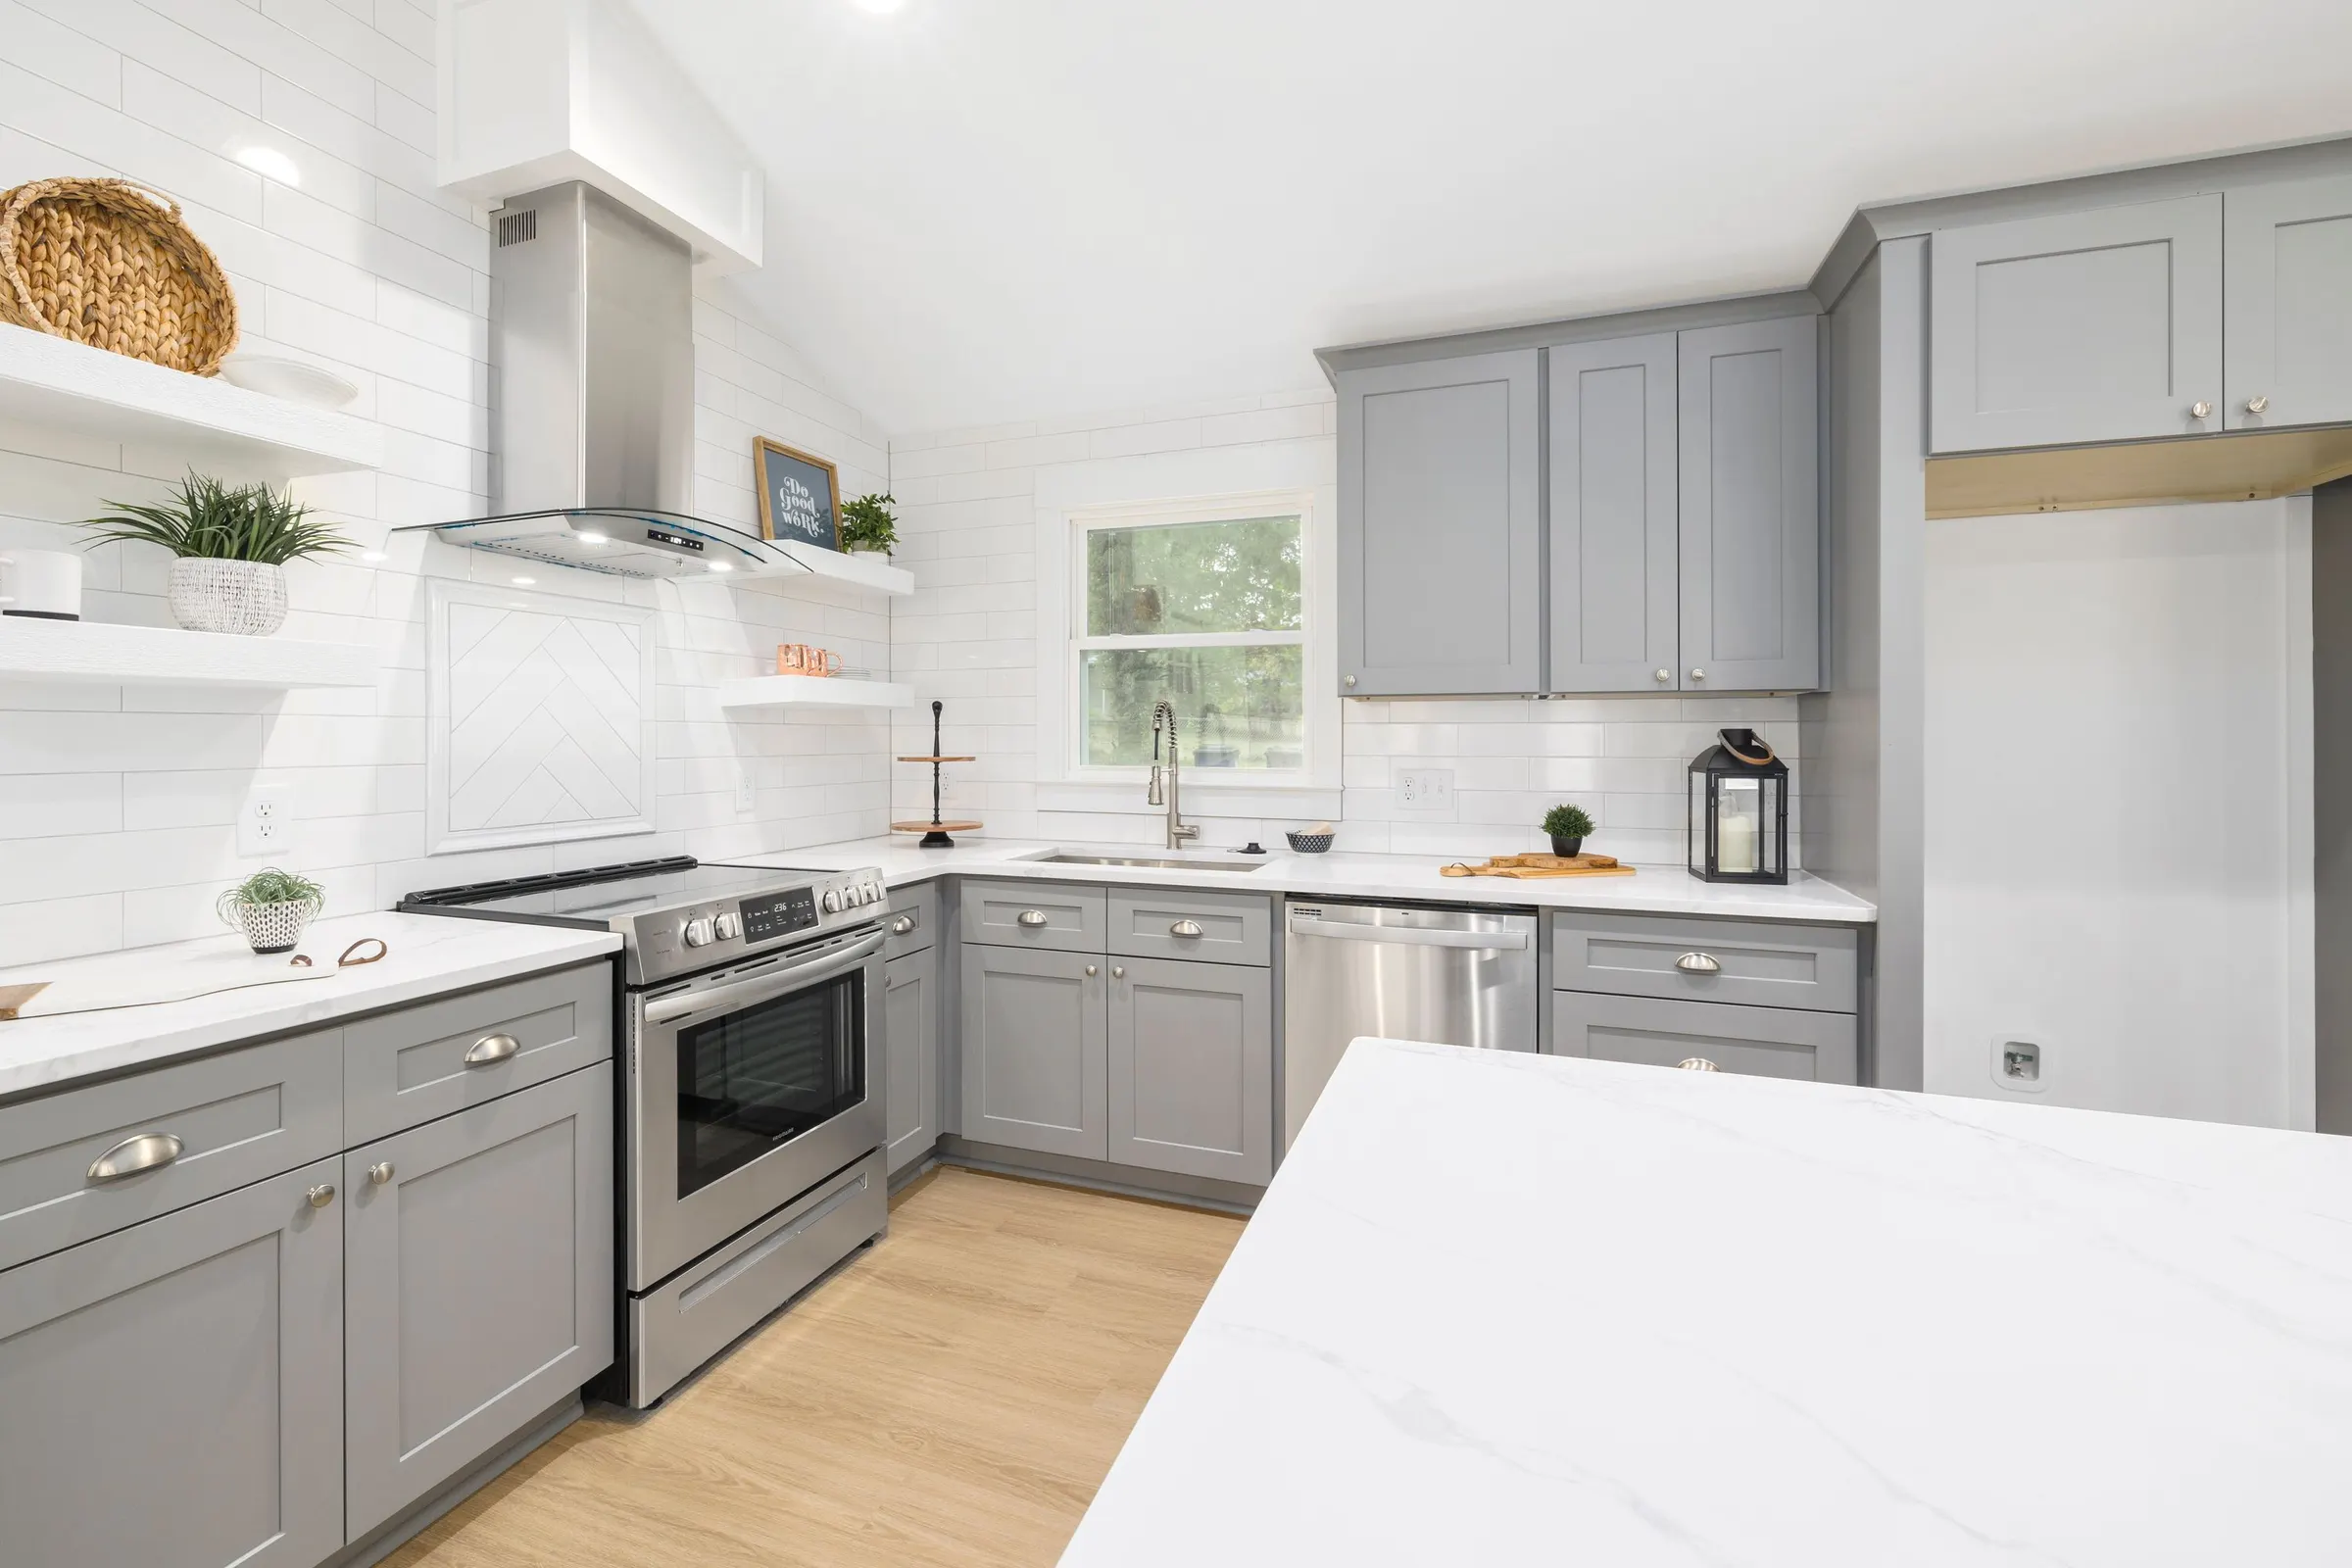
Kitchen Cabinet Painting: A Straight Guide for Minnesota Kitchens
Prep, primers, the paint that holds up, what the job costs, and when new doors make more sense. An honest guide from a cabinet company that does not paint cabinets.
Request an Appointment
Weighing new doors instead of paint? Name and phone are all it takes to start. We reply within one business day.
Start with the honest part: Woodbury Custom Cabinetry does not paint cabinets. We build custom cabinets and reface kitchens, and we are not going to pretend otherwise to collect a phone number. What we do have is a cabinetmaker's view of what paint can and cannot do to a cabinet door, and that is what this guide is: the prep that decides whether paint sticks, the finishes that survive a working kitchen, what the job costs, and an equally honest list of the kitchens where paint is the smartest money you can spend and the ones where it is wasted.
It matters here more than most places. Census surveys count 8,460 Woodbury housing units built in the 1990s, and golden oak was the standard builder cabinet from roughly 1985 to 2005, so this city is full of kitchens that are candidates for a coat of paint. Some will take it beautifully. Some will telegraph every pore of oak grain through three coats of white. Nearly all of that difference is decided before the first can is opened.
Painting Kitchen Cabinets, Step by Step
Brushing on color is the short part of the job. Prep is where painted kitchens succeed or fail, and each step below exists because skipping it causes a specific, recognizable failure.
- Take it apart and label everything. Doors, drawer fronts, hinges, and pulls come off. Number each door and its opening somewhere paint will not reach, such as under a hinge plate, and bag the hardware by location. Doors painted flat on a rack come out smoother than doors painted on the hinge, and they go back exactly where they came from.
- Degrease. Cabinets carry years of cooking oil and hand oil, heaviest beside the range and around the pulls, and paint will not bond to either. Use a degreaser or TSP substitute and rinse. Bob Vila's cleaning guide notes that straight TSP can darken hardwoods like oak and maple, one more reason the substitute is the usual pick for cabinets.
- Scuff sand. The goal is not bare wood. It is dulling the factory sheen everywhere so primer has something to grip, then removing every bit of dust.
- Fill and repair. Dents, chips, and old hardware holes if the pulls are changing size. On oak, this is also where grain filling happens if you want a smooth painted face.
- Prime for the surface you actually have. A bonding or stain-blocking primer, chosen for what is underneath, covered in detail below.
- Two thin topcoats. Sand lightly between coats, and keep the film thin on edges and in panel corners where paint likes to pool.
- Wait for cure, not just dry. Doors go back up when they can be handled. Hard use, scrubbing, and heavy wear wait until the paint has cured.
Bonding Primer Over Old Lacquer, Varnish, and Oak
Factory cabinet finishes are hard, slick clear coats, and paint laid straight over them is the classic peel-off-with-a-fingernail failure. Two primer families solve it. Shellac-based primer, of which Zinsser B-I-N is the best-known example and the one Bob Vila's painting guide recommends for stained cabinets, sticks to nearly anything, dries fast, and blocks stains and the tannins that bleed out of oak. The tradeoffs are a strong smell, alcohol cleanup, and flammability. Waterborne bonding primers are the other route: INSL-X STIX, for example, is described by Benjamin Moore as adhering to glossy paint and laminate surfaces, with a 3 to 4 hour recoat and a 3 to 4 day full cure. Whichever you pick, test it first. Prime a hidden spot, such as the back of a sink base door, let it dry, score a small crosshatch, press painter's tape over it, and pull. If primer comes off on the tape, the whole kitchen will fail the same way.
Best Paint for Kitchen Cabinets: Brushed Enamel or Sprayed Catalyzed Finish
Wall paint is the wrong product. It stays soft, it sticks to itself when a door closes against a frame, and it scrubs off around the pulls. The real choice is between three finish routes, and they differ more in who can apply them than in color.
| Finish route | How it goes on | Durability | Dry and cure | Who does it | Rough cost basis |
|---|---|---|---|---|---|
| Brushed or rolled waterborne enamel | Brush and fine roller, in the house or a heated garage; can also be sprayed | Good when the prep is right; edges stay softer for weeks | Recoat in hours; full hardness takes weeks | Homeowners and most residential painters | DIY materials around $400 on average; professional jobs $2,500 to $6,500 (Fixr) |
| Sprayed catalyzed lacquer or conversion varnish | Spray equipment in a ventilated booth, doors taken off site | The hardest of the three; conversion varnish is the toughest and hardest to touch up | Hardens by chemical reaction, far faster than air-dried enamel | Finishing shops and painters with spray booths | Usually quoted per door and drawer front, $70 to $125 per door (Fixr) |
| Factory-finished new doors (refacing) | Finished at the door maker before delivery | A factory finish on brand new doors, no old finish underneath | Arrives cured; nothing to wait out in your kitchen | Door maker, installed by a refacing contractor | Refacing runs $4,501 to $10,546 nationally, new doors, fronts, and veneer included |
Waterborne Alkyd and Urethane-Modified Acrylic Enamels
These are the brush-and-roller cabinet paints, and they are what most homeowners and most residential painters use. A waterborne alkyd carries an alkyd resin in water, so it levels out brush marks almost like old oil paint while cleaning up with soap and water. Benjamin Moore ADVANCE is the familiar example: the company lists it as a waterborne alkyd with a 50 to 90 degree application range and a 16 hour recoat. Urethane-modified acrylics trade some of that leveling for faster recoats and a harder surface sooner. Either is a real cabinet enamel. The long recoat on the alkyd side is the price of a smoother finish, and rushing it is how doors end up with fingerprints baked into the second coat.
Pre-Catalyzed Lacquer, Post-Catalyzed Lacquer, and Conversion Varnish
This is the shop side of cabinet finishing. Pre-catalyzed lacquer comes with its hardener already in the can and is the most forgiving to spray. Post-catalyzed lacquer has the catalyst added at mixing, which makes it harder and starts a limited pot life. Conversion varnish is the toughest of the three against water, heat, and household chemicals, and also the most demanding to mix, spray, and repair invisibly. All three are solvent-borne, flammable, and sprayed in a booth with proper ventilation, which is why none of them belongs in a kitchen or an attached garage. One warning applies to anyone spraying over an existing finish: a catalyzed coat laid over an old finish it does not bond with can crack or lift, so a good finisher asks what is on your doors before quoting.
Dry Time Versus Cure Time on Cabinet Paint
Dry means the paint can be touched and recoated. Cure means it has reached its working hardness, and that takes far longer: Bob Vila's paint guide puts latex cure at two to four weeks. During that window a painted door dents under a fingernail, sticks to the frame if it closes too hard, and wears through where hands grab it. Felt bumpers on the doors, gentle cleaning, and patience for the first month do more for the finish than any product upgrade.
Why Painted Kitchen Cabinets Chip at the Edges and Around the Pulls
Painted cabinets almost never fail in the middle of a door. They fail in the same few places, for reasons you can plan around.
- Sharp edges. Wet paint pulls away from a crisp corner as it dries, so the film is thinnest exactly where doors take impacts. Easing every sharp edge slightly with sandpaper before priming leaves more paint where it is needed.
- Around the pulls. Fingernails, rings, hand oil, and the most frequent wiping in the kitchen, all on a few square inches. Hardware that keeps fingers off the face of the door helps, and so does waiting out the cure before scrubbing.
- The sink base and the dishwasher side. Steam and water at door bottoms soften an under-cured film and lift a poorly bonded one first.
- Panel joints in January. On five-piece doors with solid wood center panels, the panel shrinks when winter dries the house out, and paint bridging the joint cracks in a fine line. It is wood movement, not bad workmanship, and it tends to come back each winter. MDF center panels avoid it.
Every painted kitchen needs touch-ups eventually. The difference between a good job and a bad one is whether the touch-ups are a few dabs from a labeled can or a door that has to be stripped.
Cabinet Door Types That Hold Paint, and Ones That Fight It
Before choosing a product or a painter, identify what the doors are made of. It predicts the result better than anything else.
| Door material | How paint behaves | Prep it needs | Verdict |
|---|---|---|---|
| Solid maple, birch, or cherry | Closed grain paints smooth | Degrease, scuff, bonding primer | Good candidate; expect hairline joint cracks in winter |
| Red oak (golden or honey oak) | Open grain shows through; tannins can bleed into light colors | Grain filler for a smooth look, shellac-based primer | Workable, but labor-heavy to do well |
| MDF doors or MDF center panels | Smooth and dimensionally stable | Seal cut edges, which soak up primer and fuzz | The best candidate there is |
| Rigid thermofoil (vinyl wrapped) | Slick vinyl; foil already lifting near the oven or dishwasher keeps lifting under paint | Bonding primer, and only on foil that is fully intact | Poor; peeling foil is a door replacement problem |
| Laminate or melamine slab | Non-porous; paint peels if the surface is dirty, unprimed, cracked, or delaminating | Thorough degreasing, scuffing, bonding primer | Possible on flat doors in good shape; edges are the weak point |
Bob Vila's laminate guide puts the laminate case bluntly: skip the primer and the paint will almost certainly peel, and if the laminate is already cracked or peeling, paint may not bond at all.
Painting Golden Oak Cabinets: Grain, Tannin, and Cathedral Doors
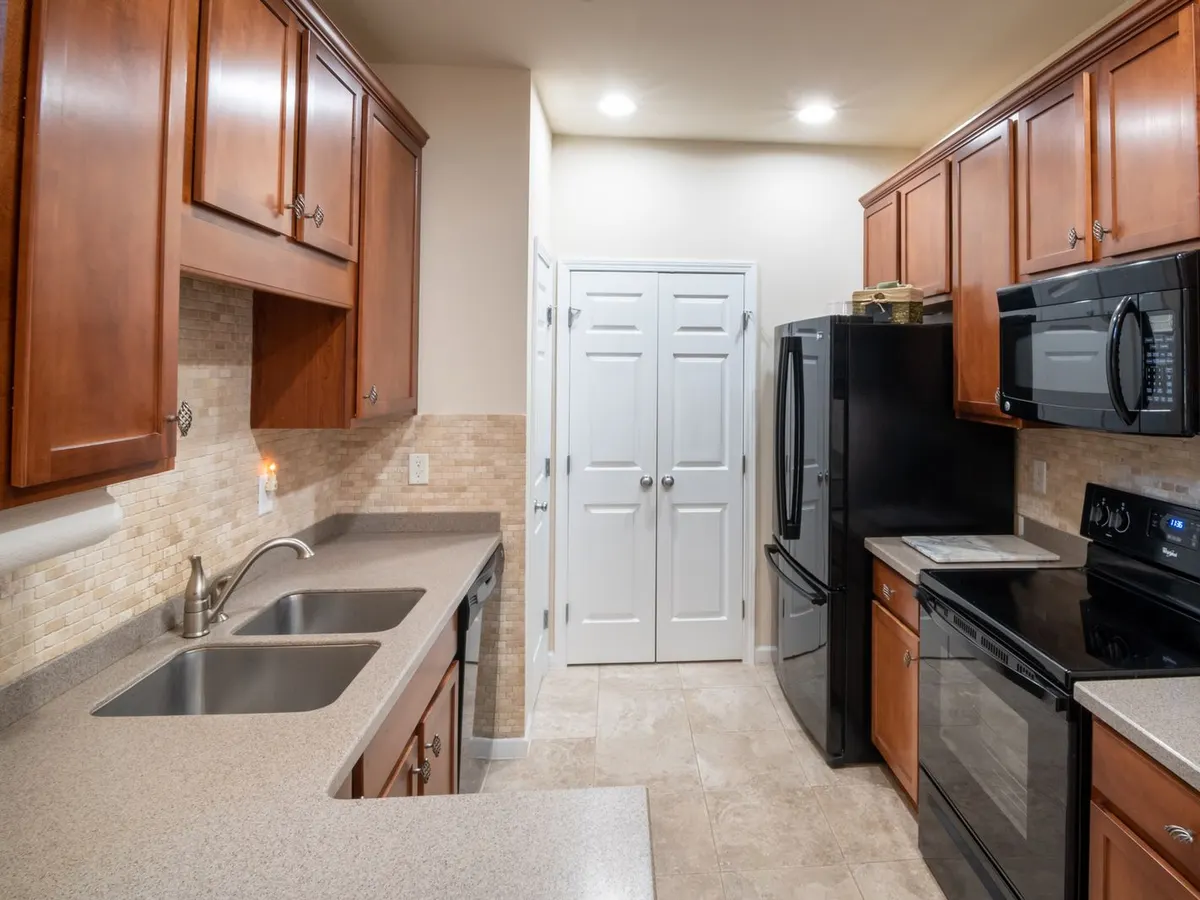
Woodbury's 1990s oak kitchens are the obvious candidates for paint around here, and they are also the hardest cabinets on this page to paint well. Four things go wrong, in this order.
The grain. Red oak has open pores, and paint follows them. Three coats of white over unfilled oak still read as oak, just white oak-textured oak. Filling the grain means a filler or thinned compound worked into every face, both sides of every door, then sanded back, and on deep grain it reduces the texture rather than erasing it. That filling is where the labor in an oak paint job hides, and why two painters can quote the same kitchen thousands apart.
The tannin. Oak is rich in tannins that migrate through waterborne primer and show up as yellow or brown blotches, worst under white. A shellac-based primer is the standard block, which is why oak kitchens usually start with the smelly primer whether the homeowner wants it or not.
The doors themselves. The arched-top cathedral door and the raised panel were signatures of that era. Paint changes their color, not their shape, and an arched raised-panel door in white is still a 1990s door. The routed profiles also collect brush marks and drips, which pushes these doors toward spraying.
Thirty years of finish. The factory topcoat is slick, and on top of it sit decades of cooking film, plus furniture polish in a lot of houses. Silicone-based polishes are a known cause of fisheyes, small craters where paint refuses to lie down. Degreasing twice is not overkill on these kitchens.
If the doors are oak but the shape is the problem, paint is a lot of labor spent preserving the part you dislike. That is the situation where new doors earn their price.
Cabinet Paint in a Minnesota Winter and a Humid July
Most cabinet paint instructions assume a mild room. Minnesota offers two seasons that break that assumption.
Spraying Cabinet Doors in a Cold Garage
The garage looks like the obvious spray room, and from November to March in Woodbury it usually is not. Benjamin Moore lists 50 degrees as the minimum application temperature for ADVANCE, and Bob Vila's paint guide gives 50 to 85 degrees for latex in general. That number applies to the surface as well as the air, so doors stored in a cold garage and brought in to paint are still cold doors. Below the minimum, waterborne paint may never form a proper film no matter how dry it looks. Some primers stretch further, and Benjamin Moore rates STIX down to 35 degrees, but the topcoat sets the rule for the whole job. A heated garage or a basement with a drying rack works; an unheated stall in January does not. Winter also closes the windows, which matters most on oak jobs that call for shellac primer and its fumes.
Humidity and Dry Time on Painted Cabinets
Summer reverses the problem. Benjamin Moore notes that high humidity and cooler temperatures prolong dry, recoat, and cure times, and a muggy July week can stretch a recoat window well past what the label promises. Doors stacked or rehung on schedule instead of by feel stick together and print. Air conditioning running during and after painting helps more than fans pushing humid air around. Winter's dry indoor air does the opposite, flashing waterborne paint so fast it can show brush marks, and it is the season when panel joints open and crack the paint over them.
Painting Kitchen Cabinets White

White is the color most people mean when they say they want their cabinets painted, and it is the least forgiving one.
- Oil-based white yellows. Bob Vila's coverage of yellowing paint explains that oil-based paint turns yellow over time, worst where it gets little light, with cabinet interiors as a textbook example, while water-based paints do not. A white kitchen in traditional oil enamel will not match itself in a few years, inside versus outside.
- Choose the white against the counters. A stark white next to a creamy granite looks dingy, and a warm white next to a cool white quartz looks dirty. Test big painted samples in the kitchen, at night as well as by day.
- Sheen is a tradeoff. Semi-gloss wipes clean easily but shows every brush mark, filled dent, and grain pore. Satin hides more and cleans a little less easily. On filled oak, lower sheen is your friend.
- White shows the wear. Grime gathers around the pulls and toe kicks, and every chip shows whatever is underneath. Dark colors like the navy lowers above hide grime but show chips just as quickly, which is why many painters tint the primer toward the topcoat color.
A two-tone kitchen, dark lowers and white uppers, is a practical answer as much as a style one: the lowers take the kicks and spills, and the uppers stay bright.
Cost to Paint Kitchen Cabinets, DIY Versus a Professional
National cost guides disagree on this job more than most, and the reason is definitional. Some figures count doors only; others include frames, end panels, and grain filling. Here is what the guides actually publish.
- Professional, whole kitchen: $2,500 to $6,500 with a national average of $4,000, per Fixr, which also notes small simple kitchens as low as $1,000 and oversized ones past $10,000.
- Per piece: $70 to $125 per door and $30 to $110 per drawer front at Fixr. Bob Vila's guide gives about $100 per door and $25 per drawer.
- Per area: both guides land on roughly $3 to $10 per square foot, which Fixr translates to about $30 to $70 per linear foot.
- Stripping an old finish first: $600 to $1,500 added, per Bob Vila.
- DIY materials: around $400 on average, per Fixr. Renting a sprayer runs about $40 to $120 a day, and sprayers use about 30 percent more paint, per Bob Vila.
- DIY time: Bob Vila estimates around 20 hours to prepare and remove the old finish and another 15 to 30 hours to prime, paint, rehang, and clean up for a kitchen of about 200 square feet of cabinetry.
Bob Vila's Angi-sourced average is far lower, $895 within a typical range of $422 to $1,415, and the gap with Fixr's $4,000 says more about what each number includes than about price. Labor is the bill: Fixr puts it at about 85 percent of the total, and a professional typically needs four to five days for a full kitchen. Fixr also notes that spraying often costs less than brushing, because the extra masking is paid back in faster application. When quotes come in, the same kitchen can look cheap or expensive depending on whether frames, interiors, end panels, and oak grain filling are in the number, so ask. These ranges sit alongside refinishing and refacing figures on the custom cabinet cost guide.
When Paint Is the Right Call, and When It Is Wasted Money
Paint, new doors, and new cabinets each fix a different problem. Matching the fix to the problem is most of the decision, and sometimes the right answer is the cheapest one.
When Paint Beats New Cabinet Doors
If the doors are a style you still like, a plain shaker or a flat slab, the boxes are sound, and the wood is maple, birch, or MDF, paint is the right money and refacing is overkill. New doors cost more than paint, and if color is the only complaint, paint fixes all of it. We will tell you that even though it is not work we do.
When Cabinet Paint Is Wasted
- A failing sink base. A swollen or delaminating floor panel means water got there first. Paint over it is decoration on a repair that still needs doing.
- The layout is the problem. Too little storage, a blocked work path, an island in the wrong place. Paint keeps every one of those exactly as it is.
- Peeling thermofoil or damaged laminate. Paint does not reattach foil and bonds poorly to broken laminate, so the failure comes back through the new color.
- Racked boxes and doors that will not close square. No finish fixes geometry.
- The door shape is what dates the kitchen. A white cathedral door is still a cathedral door.
There is also a price crossover. An oak kitchen that needs grain filling, stripping, and shellac primer can push a paint quote from Fixr's $4,000 average toward the bottom of the $4,501 to $10,546 national range for cabinet refacing and refinishing, and refacing buys new doors and drawer fronts, factory finished in the color you choose, plus matching veneer on the frames. When the layout is the real complaint, custom kitchen cabinets are the honest answer, and the low cost kitchen remodel page shows where each option fits in a whole-kitchen budget.
Hiring Cabinet Painters: Questions to Ask Before You Sign
If paint is the right call and you would rather not spend your weekends on it, these questions separate a cabinet finisher from a wall painter who also does cabinets.
- Spray, brush, or both, and where? The smoothest jobs spray the doors and drawer fronts off site in a booth and finish the frames in place. Ask where your doors will be and for how long.
- Which products, by name? Primer and topcoat both. A waterborne enamel and a catalyzed lacquer are different jobs at different prices, and the product data sheet tells you the cure time you are signing up for.
- What does prep include? Degreasing, scuffing, filling hardware holes, caulking, and on oak, whether grain filling is in the price or an upcharge.
- How will you test adhesion over my existing finish? A good answer involves a test spot before the job, not after.
- What is included? Door backs, cabinet interiors, end panels, drawer boxes, crown, and toe kicks are all line items somebody decides on.
- When can we use the kitchen normally? Ask about cure, not just when the doors go back up.
- Do I get a touch-up kit? Labeled paint in the same product and color formula, because every painted kitchen needs touch-ups.
- What happens if it peels? Get the workmanship terms in writing.
Kitchen Cabinet Paint Questions, Answered Straight
Does Woodbury Custom Cabinetry paint kitchen cabinets?
How long does cabinet paint take to cure?
Do I have to sand cabinets before painting?
Can thermofoil or laminate cabinet doors be painted?
Should the inside of the cabinets be painted too?
Is it better to brush or spray cabinet doors?
Rather Have New Doors Than New Paint?
Refacing puts new doors and drawer fronts, factory finished in the color you pick, on the boxes you already own. Send photos of the doors and the inside of the sink base for a straight answer and a written estimate.